DIY Accent Wall Techniques: Transform One Wall, Transform the Room
Chosen theme today: DIY Accent Wall Techniques. From paint tricks to tactile finishes, we’ll show simple, confidence-building ways to create a striking focal point. Join in—comment with your room’s dimensions, and subscribe for weekly step-by-step guides and fresh accent wall ideas.
Choose the Right Wall and Set a Purpose
Stand in the doorway and note where your eye naturally lands: behind the sofa, the bed’s headboard, or a fireplace. Choose that surface, and your DIY accent wall technique will amplify, not fight, your room’s existing energy and flow.
Paint-Only Accent Wall Techniques That Pack a Punch
Use a level or laser to map rectangles, arches, or bands. Burnish painter’s tape, roll away from edges, and peel while paint is damp. Share your palette in the comments so others can borrow your daring combinations.
This mineral-rich finish dries with cloudlike variation. Dampen the wall, apply in sweeping X strokes, and layer thin coats. It thrives in soft light. Curious about color? Ask below and we’ll suggest a shade that suits your existing palette.
Vertical slats or board-and-batten
Pine or MDF slats visually stretch a room and hide mild wall waves. Find studs, keep consistent spacing, and caulk carefully. Paint everything one color for unity. Thinking widths or spacing? Ask, and we’ll help you draft a balanced layout.
Peel-and-stick wallpaper that behaves
Choose thicker vinyl with repositionable adhesive and a subtle texture. Start plumb, overlap carefully, and use a felt squeegee. Ideal for renters exploring DIY accent wall techniques without commitment. Share your favorite patterns so readers can compare scale in real rooms.
Faux brick or stone veneer
Lightweight panels or thin brick add loft energy fast. Stagger seams, color-wash for realism, and spotlight with grazing light. Want rustic warmth without heaviness? We can suggest paint washes that tone down red undertones while preserving texture.
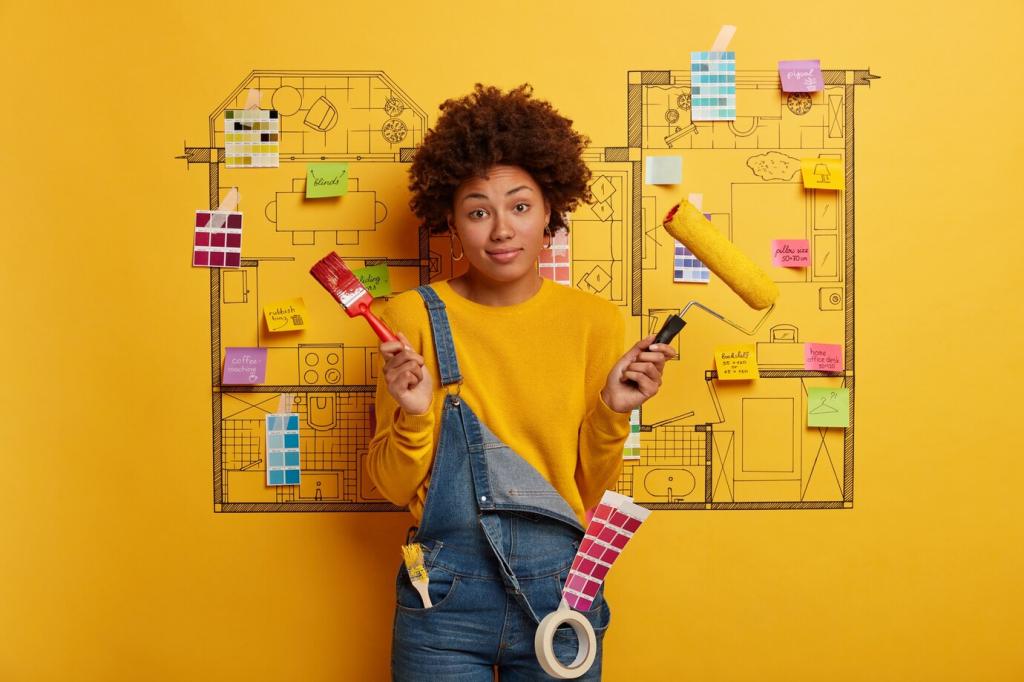
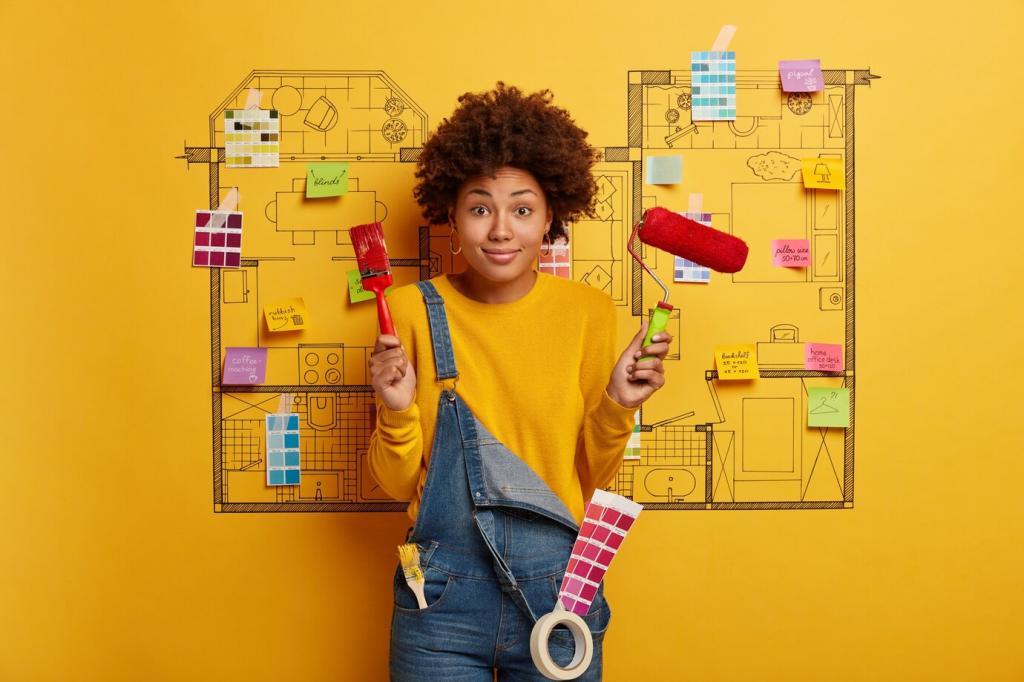
Prep, Layout, and Tools for Professional Results
Sketch your wall to scale, then tape outlines directly on the surface to preview proportions. Take photos at different times of day. Adjust until it feels right. Comment with your room width and ceiling height for a quick mock-up suggestion.
Prep, Layout, and Tools for Professional Results
Clean, degloss shiny paint, fill holes, and sand lightly. Prime for uniform absorption and truer color. This single step upgrades every DIY accent wall technique, from ombré to paneling. Need a primer pick for tricky surfaces? Ask and we’ll advise.
Light, Styling, and Aftercare to Finish Strong
Light the wall to flatter the technique
Wall washers or LED strips can graze texture; sconces add sculptural shadows. Test color temperatures at night. A dimmer stretches mood from lively to calm. Tell us your fixture plans and we’ll suggest aiming angles for your specific finish.